

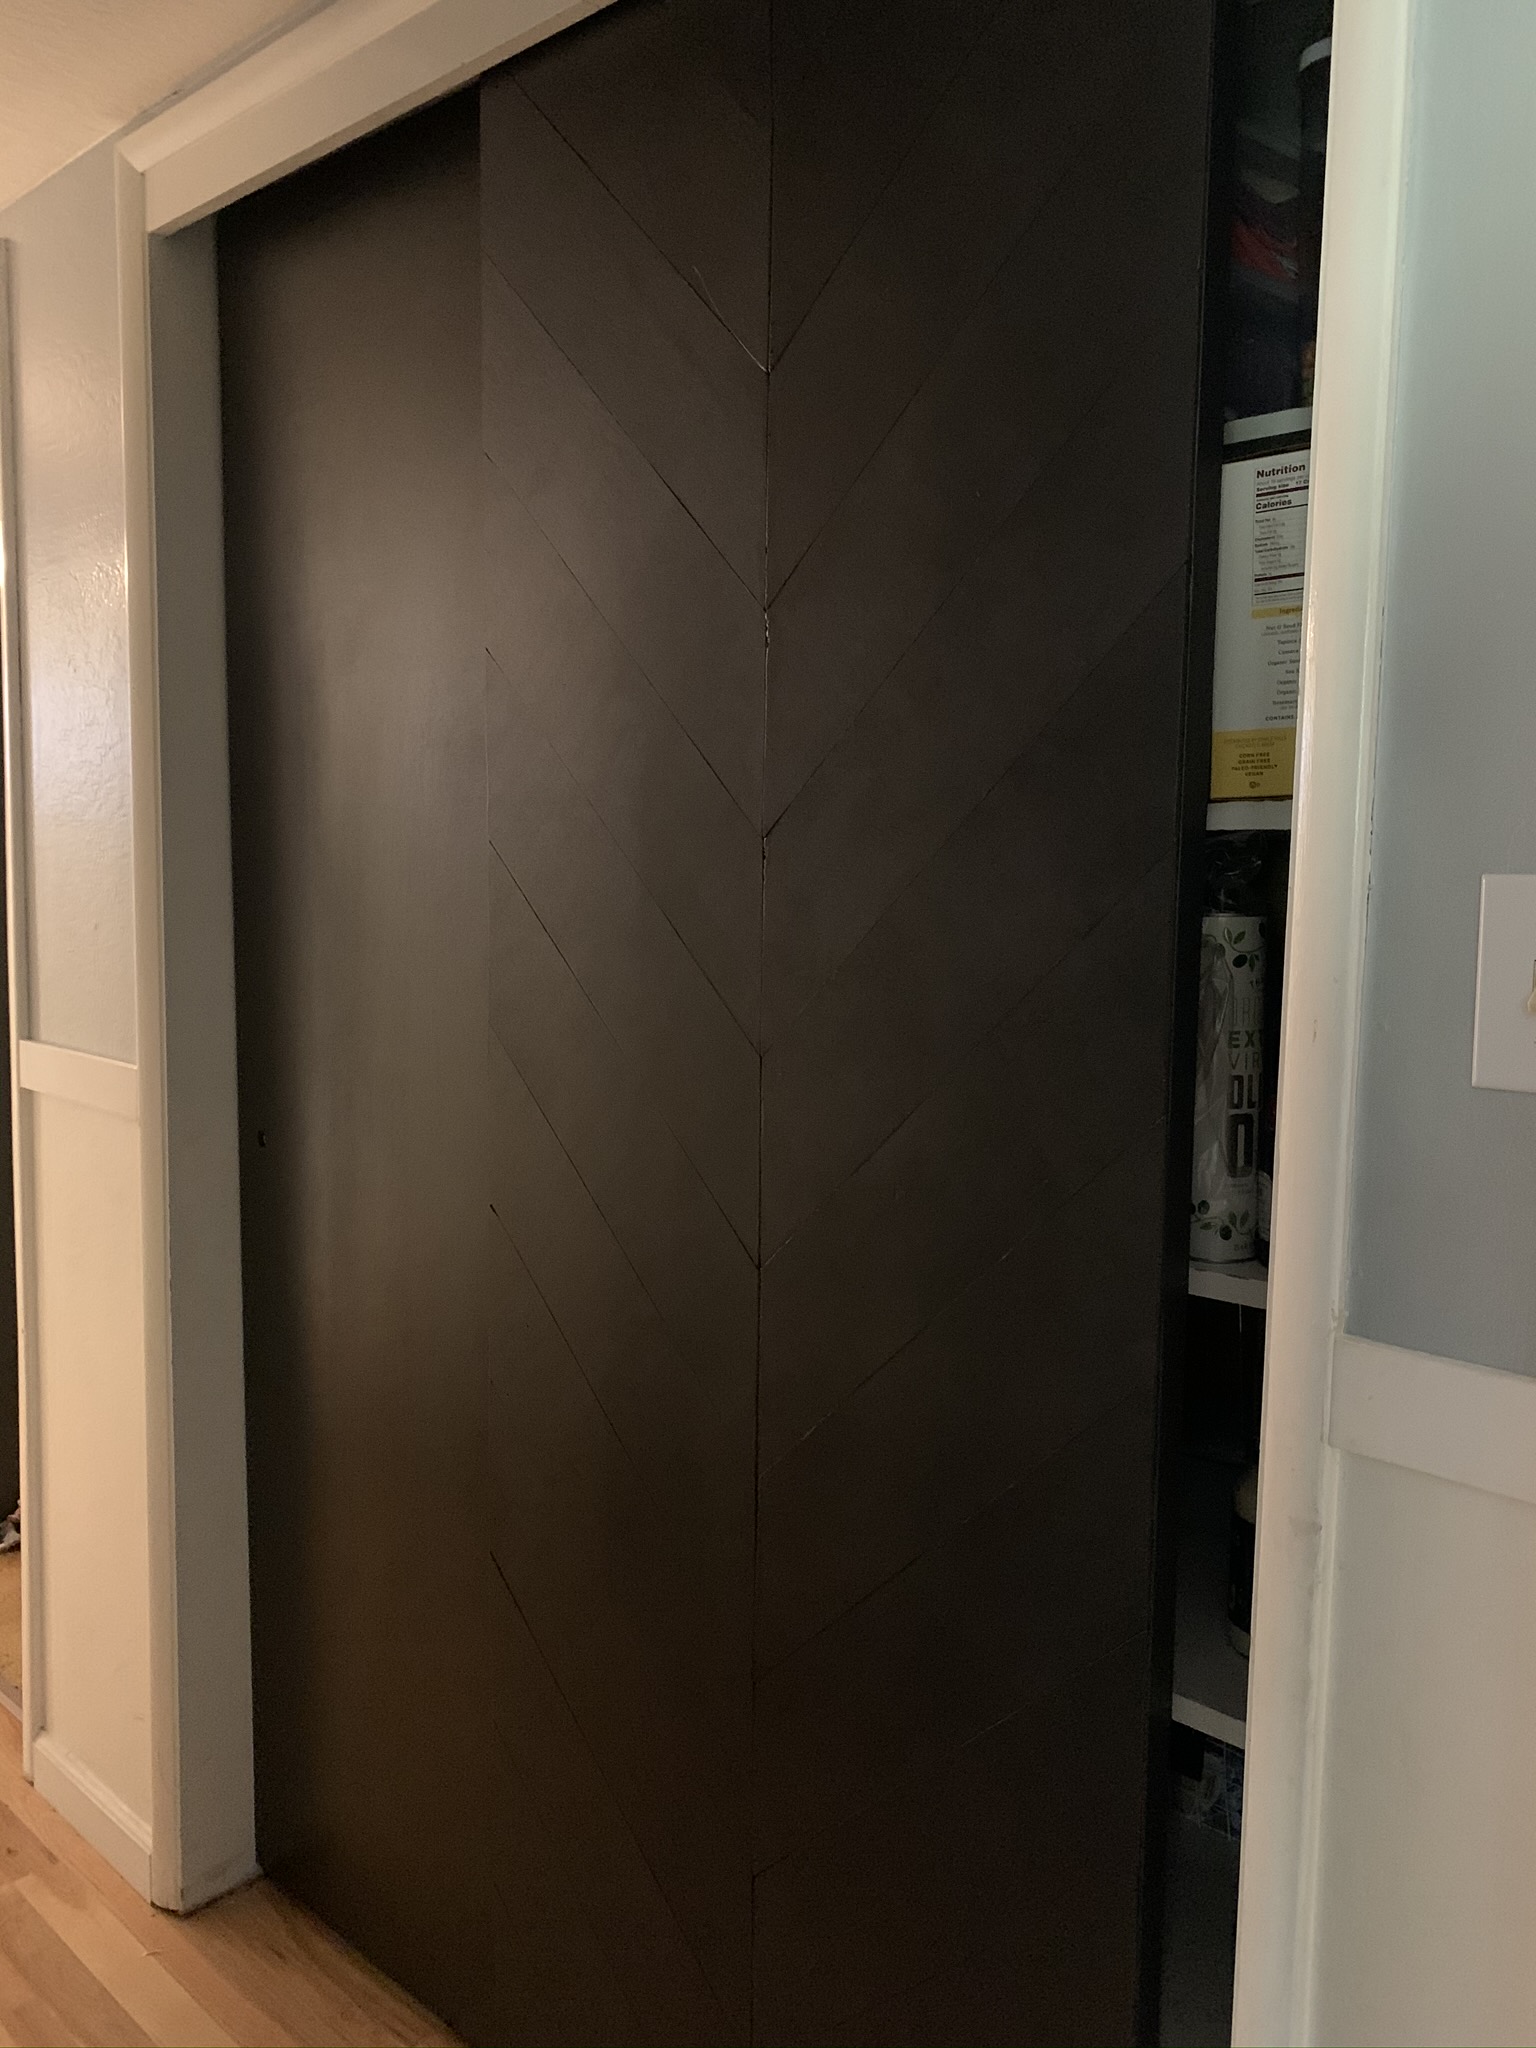
Are you familiar with the book, If You Give a Mouse a Cookie, by Laura Numeroff? Basically this story reads just like that. If you give a gal permission to paint she will buy the most expensive paint with all of the coupons and a new paint brush. Then she will ask her strong husband to take down the doors and help. After most of the doors are finished, she will look at the remaining hall closet doors and decide she wants to do a statement door on the hall closet/pantry. She will propose several ideas to her wonderful husband who will help her devise a plan that will work. Some time will pass and they will cram large pieces of wood in the back of their car and enlist some really good friends help cutting the wood into strips. At this point, the gal just sort of watches as her husband cuts woods and glues offering help whenever its needed. Then she paints the door and falls in love with her plan and is thankful her husband saw her vision and said yes.


That's basically how it all went down in a nutshell. We have one main hallway in our house that makes an L shape. We painted all the doors with Sherwin Williams Iron Ore using their Snap Dry paint. I am obsessed! This paint applies so smooth and dries so quick that it doesn't take long to do a project. Another plus, is that this paint is made specifically for doors and trim because it dries hard and doesn't leave a softer, rubber-like feel that latex paint often leaves. Because of this, doors don't get stuck in the shut position! They also look like we went out and bought black doors! That's a huge win!
We painted them using a roller brush and then a Purdy brush for touch ups. (I love me a good Purdy brush!). The paint we bought directly from the Sherwin Williams store and were able to get it on sale and use a coupon . . . which is great because it's kind of pricey (but worth it!) I don't think this particular paint is sold at Lowes, but really. . . Sherwin Williams has great sales and curbside pick up! I love me some curbside pick up!!! Iron Ore is the perfect color of a dark gray/black although it had me wondering if it was too grey when I was painting it. Once it dried and we moved it inside, it was so much darker. A lot of paints are like that. . . misleading at first.


Before we painted the outside door, we measured the middle and drew a line down the middle for our guide. Then we placed the wood pieces at the angle we wanted and started cutting and placing the wood where we wanted it. We did all the pieces before we started gluing.


We used Liquid Nails in a culking gun to glue the pieced down. Then we laid all the heavy things we could find on top so they could dry and nothing would move. Liquid Nails is really thick, so there isn't a ton of sliding and it's so strong.


No comments:
Post a Comment
I love hearing your comments and feedback. . . It makes my day!!!