Wednesday, July 31, 2013

A verse {joy}

This verse is not my favorite verse, but it ranks pretty high.  This verse just makes me swell up with joy each time I read it that I get distracted about what I was going to write.  oh well.

This verse has been rooted in my memory since my early college years.  The year and half after I graduated from high school that I still lived at home and took classes at our local JC.  I was blessed abundantly by the moms who I babysat for (most all of went to church at the same little church we did).  I suddenly became not only their babysitter, but their friend.  I also got to watch as they stayed at home, served God, and raised their children.  It's weird that now 15 years later, I am now doing what they did then.  I am glad that I was able to have their example.

Now, some of these ladies served the women by planning a Woman's gathering with the theme of ice cream. It was one of my favorite events. . . I'm pretty sure of it!  (Especially since I was able to handle ice cream back then. . . man, i miss those days!).  Anyways, one of these amazing women took her stamps (Stampin' Up, of course!  Oh and I blame them for my addiction that is still going strong!) and stamped out this verse on the table cloth all around the table.  It seriously looked amazing!  It also took some pretty amazing patience.  I'm pretty sure she had this verse memorized by the time she finished the table cloths.

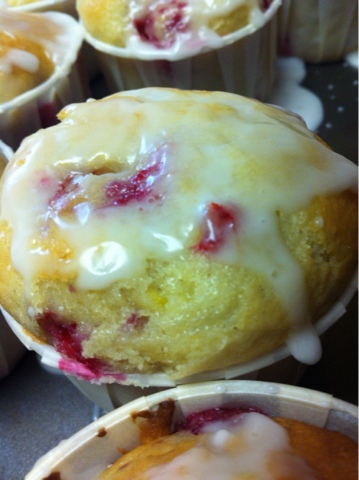
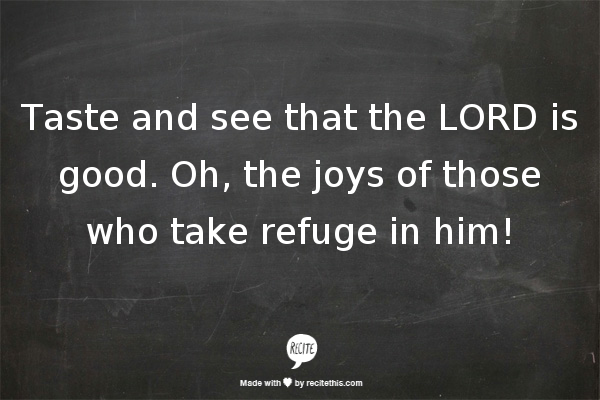
So, some Bible verses seem to stir up memories.  This verse isn't just about food, though.  God wants us to fill up on Him and when we take refuge in Him (or run to him as some other translations say), we find our needs met.  That filling up leaves a sweet taste of joy.  Have you tasted it?  I always feel giddy and full, like I could just explode.

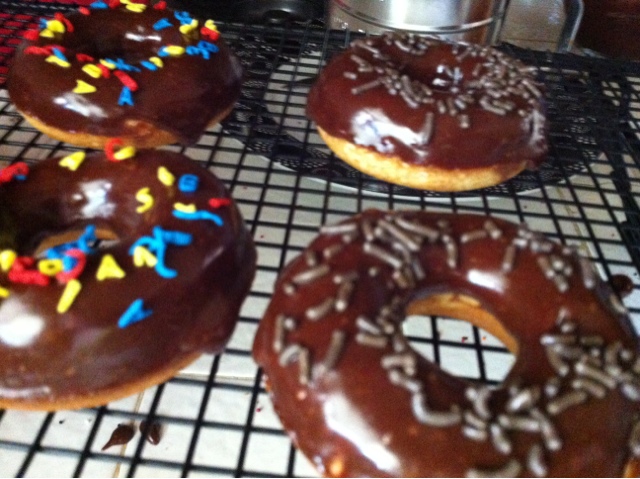
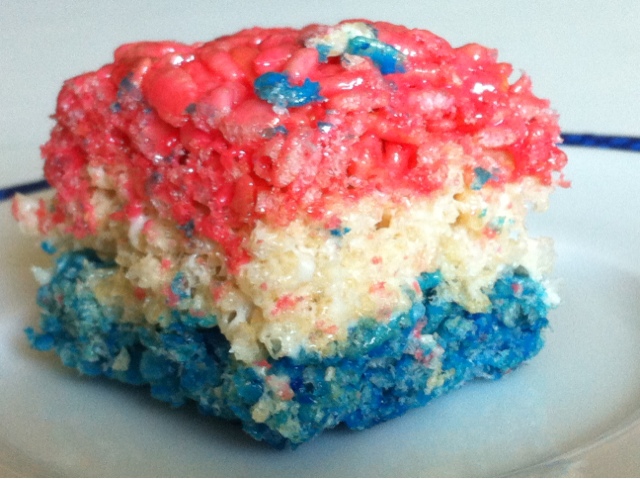
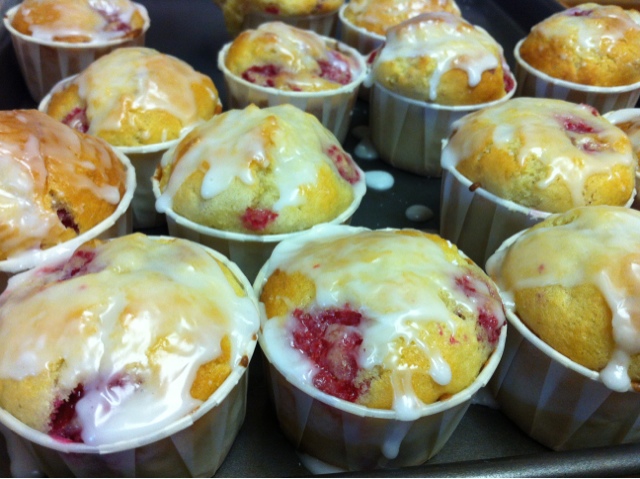
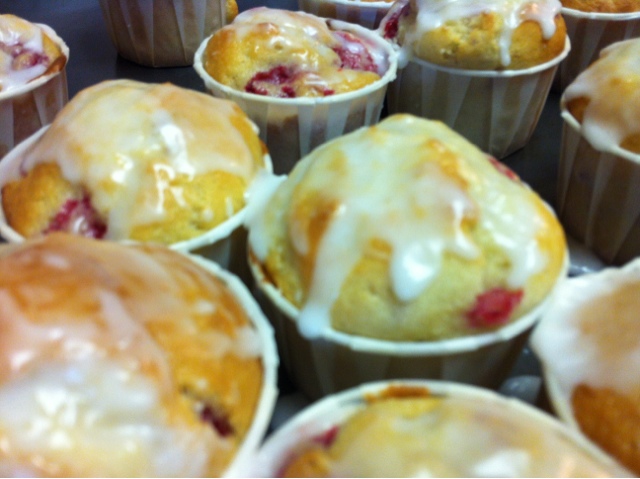
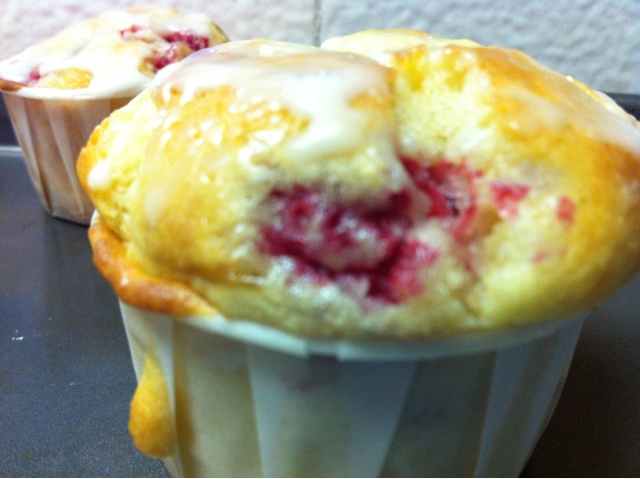
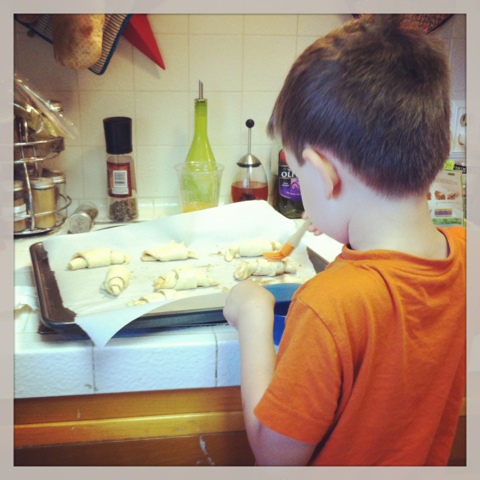
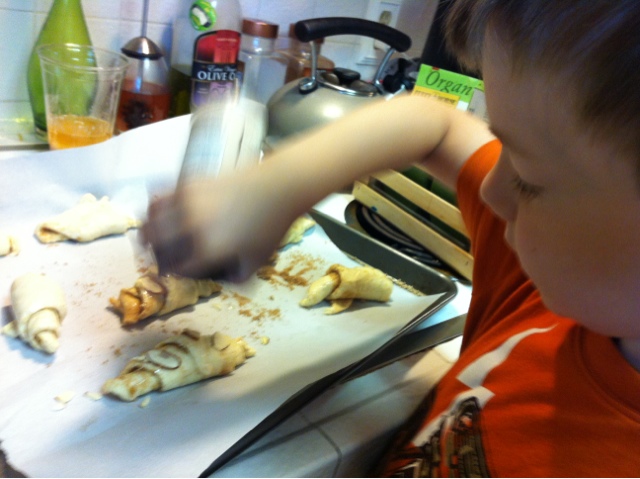
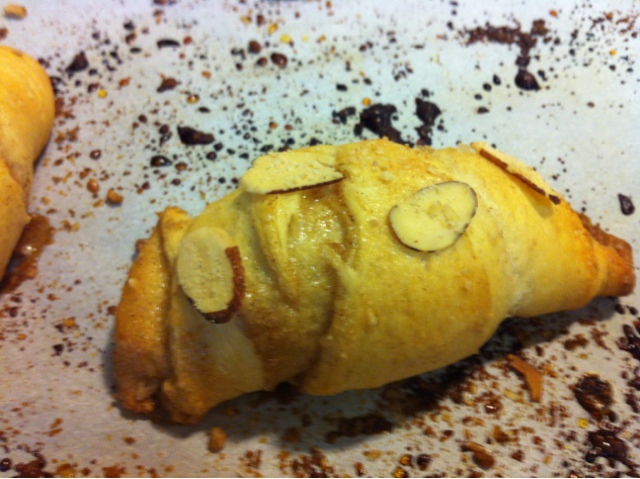
Here are some of my recent joys: oldest spending hours coloring, the whole family experience of our church's XFA, beach retreat with my family, anticipation of an unexpected family vacation promotions, quiet, happy laughter from my youngest.

It's good to stop and take note of the joys.  The things that make our heart swell up with Thanks.
Thanks to the One who gave the gifts.
Thanks because I am undeserving, yet He gives.

Taking time to stop. Breathe.  Savor the joy.  A shield is created.  The little things that get to us. . . that drive us mad, or irritate us soon leave.   I could sit in the joy all day.  My heart is happy.

Joy changes our hearts,
   replaces the bitterness with sweetness
      energizes
           loves
              hugs.

       
What is bringing you joy today?   Please comment in the comment section.  I would love to hear from you!


Monday, July 29, 2013

Fresh Berry Shortcake

I've been on vacation. . . it was wonderful!  I want to go back. . . the beach is my happy spot.  I am very thankful for my in-laws who whisked the whole family away for a family getaway to a cooler spot.  It was marvelous.  Now, I am home and diving back into reality (dishes, laundry, dinners, schedules) and it's our church's Extreme Family Adventure week in the evenings.  This should be an exciting AND exhausting week!  Bring it on!

Saturday morning, I found the most delicious and beautiful berries at the farmers market (not uncommon to find beautiful produce where I live).  I, of course, had to buy them.  But, because it is so hot, I need to use them up quick, so I thought I would make a batch of strawberry shortcakes.  My favorite kind are those made with a lightly sweetened biscuit cut in half and filled with whipped cream and layered with fresh sliced berries and sandwiched together with the top piece of biscuit.  Then sprinkled with powdered sugar and maybe even some white chocolate shavings. . . I know. . . death by strawberry shortcake may be happening in our house.

However, last night probably had disaster written all over it.  I have been really wanting to try making whipped cream out of coconut milk.  I mean, I make an awesome whipped cream with heavy whipping cream, how hard can it be???  HARD.  The best thing ever was after admitting it on Facebook, I found out that I am no the only one!  Thanks friends. . . you made me feel better!  I tried it first with a can of coconut milk, but since it's been warmer and I didn't store mine in the fridge, the cream part was not thick. . . like crisco.  So, I saved that option for another project, then moved on to canned coconut cream.  Yep, thicker, but NOT a solid material like I saw on the blog post I had pinned.  I whipped that stuff for about 15 minutes before giving up.  It got thicker, but not even close to stiff peaks.  I was super bummed!  So, my failed attempts were put back into the fridge and we made into the base for ice cream today (we will see how that turns out!).
So, despite my failure to make a whipped cream that I could enjoy.  My husband enjoyed two of these babies!  They were amazing!  The recipe for the shortbread was a new one that I had pinned very quickly. . . this was all very spur of the moment!  I loved the way the shortbread looked in the pictures. . . it looked amazing, but the recipe just didn't seem right.  I followed it according to her directions, assuming that she new what she was doing and maybe I just didn't know.  But, I ended up with pancake batter. . . not exactly biscuit dough.  So, I went online and looked at other recipes and came up with conclusion that I needed more flour (my original thought was that 1/2 cup just couldn't be enough. . . and I was right!).  1 cup later and I had the most beautiful, tasty biscuit dough in my bowl.  AWESOME!!! 

Shortcake Recipe:
Adapted from here

Ingredients:
1 1/2 cup flour
1 Tbs baking powder
2 1/2 Tbs sugar
5 Tbs butter
2/3 cup milk
1/4 cup milk for brushing
sanding sugar/regular sugar

Directions:
Preaheat oven to 425 degrees
Combine dry ingredients.  Zap butter in microwave for about 20 seconds.  Add it to the dry ingredients along with the flour.  Stir until you have a beautiful, dough-y ball.  Press onto your silpat and cut out circles (or squares, hearts. . . whatever you fancy).  Brush on some milk over the tops of each biscuit and sprinkle sugar or sanding sugar over the tops of each.  Bake for 20 minutes (this completely depends on the size of your biscuit.  

FRUIT:  slice your strawberries and combine with fresh raspberries, blackberries, blueberries. . . whatever you have on hand.  Sprinkle with a bit of sugar to draw out the juices and let sit for a few minutes.  I usually do this while my biscuits are cooking.  I think later this week, we are going to try some with peaches!  Really, the possibility is endless! 

Buy a can of redi whip, cool whip, or make your own whipped cream.  I am always a fan of the homemade version, but my husband wanted to make my life easier and brought home a container of cool whip.  No matter, what it's amazing! 

I like to sprinkle with powdered sugar once I'm done and with this one, I added some shavings of white chocolate.  

I won't lie.  My husband ate 2.   He will probably eat more tonight.  

Have a happy day! 

Friday, July 19, 2013

So, you want to start a blog. . . {Part 1}

Last week, a couple of ladies expressed interest in starting their own blog and wanted a bit of help.  I started this blog almost 5 years ago and I am still learning a ton about the world of blogging.  So, before I share some things, I just want to forewarn you all that I am still learning.

I absolutely love blogging!  I love that people actually take time out of their busy days to read about my shenanigans, and sometimes they even comment. . . that's like a real celebration, right there!  Starting my blog was something that I thought for awhile after Ethan was born and I finally jumped right in.  I will confess it was a bit on the scary side.  I mean every time, I share something, I share a bit about myself for the whole world (don't worry, I don't have that many followers!).  But, it's my blog.  If you have that urge to share your life with your family, friends, and potentially people you have never heard of from places that you've only dreamed about traveling to, here are some helpful tips to get you started.

1.  Establish an objective for your blog. (Man, I sound like a teacher right there!) What do you want to write about?  Think about your hobbies, your adventures, your life.  Your blog will become your voice. . . your outlet.

2.  Think of a name for your blog.   I chose "Out of the right brain" because that is the creative side of the brain, the side that gets used most often in my life.  Get creative. . . you want people to remember it.  Maybe it's a favorite line from a poem, or a phrase from your favorite book or quote.  I also recommend doing a web search for your potential title because you want to make sure no one else out there is already using that as their blog or website name.

3.  Choose a host for your blog.  This will take some research.  I use blogger, but you can use whatever your heart desires.  Most of my knowledge comes from how Blogger works, so most of my tutorials will have to do with that.  But, do your research and see what works for you.
 
Here is what is out there that I would recommend:
 :: Blogger.  Blogger is really easy to navigate through and is connected with all your google accounts.  Since, I use gmail, all my login's are the same.  They also have a ton of formatting options for you to take your "blank sheet of paper" and make it your own!  It's also free.

:: Wordpress.  Also free.  This one, however, requires a download of their software onto your computer.

:: Tumblr.  I don't know too much about this one, but it is also free. I am not sure how much flexibility this one has but it is very trendy.

:: Typepad.  This one is one that I dream about switching over to in the future (It's just a dream). This one is NOT free, but it offers some amazing features that come with your fee.

Do your research.  Do what comes best for you.  Have fun!  I will try to have a new post up next week that will take you a few steps further.

Have a great weekend, everyone!

Thursday, July 18, 2013

Happenings

My office has become very cluttered with works in progress.  The clutter is driving me INSANE!  Here's a little sneak peak of some fun things going on around here. . .


Monsters. . . lots of them.  These are the first two. . . they just need to be stuffed (they are feeling a bit flat right now).  I am having a lot of fun creating them.

I am working on our Family Organization Binder.  This is the first page.  I was inspired by a post on pinterest that had something to do with getting organized in 40 days.  I honestly don't have the patience to do 40 days in a row of pure organizing (maybe I am a bit ADD. . . ?).  Most of the time I would rather be doing something else.  So, I am doing 10-15 things each season.  The above is summer. . . partly because these are the things I want to accomplish this summer.  There is something about printing stuff off that is pretty that makes it more motivating. . . am I the only one who feels this way?

Fabric. . . A dear sweet girl err friend is having a baby.  She is a beautiful lady who has grown up so quickly (because I am still the same age I was after college, right?) and is now married and expecting her first.  I wasn't able to attend her shower, but have everything together to make some fun things. Hopefully she will get it before her little girl is born.  She's at 37 weeks, so I had better hurry!
Finally, I started some embroidery.  This is my take with me and work on when I am waiting project.  It's going to say Happy Day and it's bunting. . . because I {Love} bunting!

And here's one of my favorite instagrams from last week (since I only blogged once!).  He has always been an active boy, but recently, he has become very focused and artistic.  This is a train kit he bought on a recent trip to the Sacramento Train Museum. I am so proud of this boy!  Right now, he is coloring his way through a coloring book and playing with legos (not at the same time).  

Now, I am off to go color with my son!  Hope you are having a great week!

What are you working on?

Wednesday, July 17, 2013

Baked doughnut deliciousness

Warning:  The following post probably won't help you fit into your swimsuit. . . if you eat all of them, that is.  Everything in moderation, right?  Plus, they are baked. . . not fried (oh great. . . now I sound like a potato chip commercial!).  
It seems like every year, Sur la table sends me some free money to go spend at their store (no complaints, here!).  A few years ago, I picked up the Wilton doughnut pan and it seriously is awesome.  I love that I didn't have to pay for it, but it is sooo worth it's 10 dollars!  If you are in need of  a fun pan that isn't a necessity. . . I highly recommend this one! 
I used the recipe on the back of the cardboard wrapper that is displayed around the pan when you buy it.  It seems like a lot of other bloggers use it too, because the recipe is everywhere.  It's a really good recipe for plain donuts and it tastes amazing when accompanied my a delicious chocolate frosting and some yummy sprinkles. Ethan and I had fun picking out the sprinkles for these ones from our stash.  The Alphabet ones were leftovers from Weston's ABC party.   These doughnuts seriously did not last long at all.  My kids were happy, my husband was happy.  I didn't have to go to the doughnut store or spend any money.  It was a win-win for all.  

Plain Baked Doughnuts 
From Wilton

Ingredients:
2 cups cake flour, sifted
3/4 cup granulated sugar
2 tsp baking powder
1/4 tsp ground nutmeg
1 tsp salt
3/4 cup buttermilk 
2 eggs, lightly beaten
2 Tbsp butter, melted

Directions:
:: Preheat oven to 425 degrees. 
::  Spray your pan with cooking spray (make sure you do this with each batch. . . or your second batch will provide you with a nice challenge of not destroying the doughnut in the process).  
:: Sift together dry ingredients.  Make a nice little whole in the middle of your dry ingredients and add your wet ingredients.  Give it a stir (I used my spoonula) until everything is nicely moistened and wet.  You don't want to over do it, or your doughnuts will be very tough.  
:: Bake 7-9 minutes.  COol for a few minutes and then remove from pan.  Glaze with desired topping.  

Chocolate Doughnut Glaze
Adapted from Joy the Baker
Ingredients:
1/4 cup unsalted butter
2 tbsp milk
2 tsp corn syrup
1/2 tsp vanilla
2 oz unsweetened chocolate
1 cup powdered sugar

Directions:
Place butter, milk, and corn syrup in a microwave bowl and zap for a bit (short 30 sec intervals, is best) until butter is melted.  Add chocolate and whisk together until melted and smooth.  Add vanilla and powdered sugar.  Dip the top part of doughnuts in to glaze and sprinkle with your favorite sprinkle.  

Wednesday, July 10, 2013

Popcorn in the whirley pop

I've been sitting here staring at this picture of some yummy popcorn wondering what to even write.  I think I am tired.  That, and my neck is really messed up today.  Oh well. . . must overcome writer's block!

For Christmas, Jon and I got a whirley pop, and to be honest it has seriously sat on a shelf forgotten.  Is it weird that I was kind of scared of it?  I'm really not sure why.  It may have been partly because we've been I have had a busy 5 months and now I actually had time to take it out and just play.  I wish I would have taken it out so much sooner.  Popcorn is so much better with this thing!  It has the best crunchy feel and is WAY better that those you can pop in the microwave.
Then, when I was doing a gift for my best friend's Birthday week gift extravaganza, I found this recipe (I know that she has a whirley pop and swears by it), so I figured this would be an awesome recipe for her.  So, I bagged up the ingredients as instructed by this blog post.  But, for the month of June, this recipe has been calling my name to actually make. . . you know, to see if it was actually any good.  

So, last Thursday, when one was napping and the other was coloring (or hanging out with is dad, who had the 4th of July off), I decided to whip (or whirl?) up a batch.  In reality, I was bored and just needed something to do.  

This recipe was so easy and SO amazingly good!  It is definitely going in my recipe box to be made again.  Oh, the yumminiess!  

Here's the recipe:

Cinnamon Sugar Popcorn

Combine in the Whirley-Pop:
  • 1/4 cup white popcorn kernals
  • 1/4 cup oil
  • 1/4 cup sugar
Cook over medium heat while stirring with lid closed until done. Once the popcorn is done add the cinnamon sugar mixture and stir for 2 minutes with the lid closed.

Topping Mixture:
  • 2 tablespoons sugar
  • 1 teaspoon cinnamon
  • 1/4 teaspoom salt

Friday, July 05, 2013

4th of July yumminess


Happy Day after 4th of July!  I hope you all had a wonderful day celebrating the birthday of our wonderful nation.  Our day was the best ever.  We were unproductive.  We played with water balloons, water guns, and sprinklers.  We watched movies and vegged out.  I read a few pages of a magazine that I've had for a few weeks and still haven't touched.  I made these beautiful creatures.
Honestly, they really aren't anything new.  They are just some jazzed up rice krispy treats.  I made my husband check out some patriotic desserts that would accompany homemade ice cream (that was being made by my husband's uncle).  As soon as he saw these, he knew what he wanted.  I was thrilled, because they would be super easy and not horribly time consuming.  Perfect!  The kids think they are awesome because it turns their tongue blue. . . every boy's dream, right?
These were brought (and shared) with Jon's family's annual 4th of July gathering.  I used my Wilton gel coloring for red and blue layers.  The white layer is just plain old rice krispy treats.   But before I give you the directions (because you probably have the regular recipe memorized, right?), let me share with you some of my favorite pictures from yesterday.
Hiding from the camera/bright flash of the iphone.  Yep!  I still got that cute smile!   It's hard to believe that in 2 months my baby is going to be 5!
Fireworks are loud, but we love them!  

Patriotic Treats

Ingredients:
6 cups rice krispy cereal
3 tbs butter
1 bag of marshmallows (i used the small ones)
Red and Blue coloring (I used the Wilton icing colors)
1-9 inch square baking dish, sprayed with Pam

Directions:
1.  Melt 1 Tbsp.  butter and 1/3 of a package of marshmallows in a medium sized pot.  Once marshmallows are pretty melty (is that even a word?), put a bit of blue food coloring in. If you are using the icing colors like I did, it doesn't take much.  I used a chop stick to get it in there.  Keep your marshmallows moving by stirring your color in. Once nicely blended, add 2 cups of cereal and mix it together.  Pour into baking dish and press evenly into the pan.  I usually spray my hands with PAM to stop the goop from sticking to my fingers. Wash your pot out and start all over again. 

2.  Repeat Step 1, except don't add any coloring.  This is your white layer.  

3.  Repeat step 1, except add red coloring.  I use the taste-less red.  I also thought it was going to come out pink, but it turned out rather nicely.  

4.  Eat. . . share if you want. . . enjoy! 

Wednesday, July 03, 2013

Flag art for the little ones

So, it's been a long time since I've posted any fun literary/art projects to do with the little ones.  So, I thought I would do a quick post in honor of tomorrow's 4th of July celebration.  These are really fun activities to do with the kids, especially when it's so hot outside.
This flag was pretty easy.  Just take construction paper strips and and blue square and then white "circles" for the stars.  I precut everything and let Ethan glue it.  We did this one last year, when he was three.
The other day, I just let them paint with empty paper towel rolls and used red and blue paint.  Weston and Ethan both had fun with this one.  I love how the circles come out differently depending on how hard they press the tubes into the paint and then again on the paper.  Each one is so diverse!
I found this idea online yesterday, and Ethan did it today during naptime.  It's a dot-a-dot coloring sheet. This was pretty easy for Ethan, and he was able to do it independently (which gave this mamma a much needed break!).  You can print it out here.
This one was a finger print painting.  Ethan started out using the eraser of a pencil, but ended up just painting his stripes with a paint brush.  Weston finished this one with some mommy help.  But, I love the imprints of his tiny fingers.  

Have a happy 4th of July!  I can't wait to share with you what I'm making!!!!


Tuesday, July 02, 2013

heat wave baking

Apparently we are in the middle of a heat wave.  I have been joking to myself that summer in the Central Valley are one big heat wave.  However, we don't normally hit the temperatures we are now, so yes. . . it's hot.  Really hot.  It's the kind of hot that makes me procrastinate doing laundry because it's too hot to go outside at 8am to switch over the laundry.  It's too hot to really leave the house, especially with the boys.  It makes the boys run around like crazy people.  It makes this mommy a bit on the cranky side.

So despite the heat, I turned on my oven and baked some of these gorgeous muffins and some of these.  Trust me. . . it was worth it!  Aren't they beauties!  Ethan even helped a bit with the glaze that went over the top. . . he's a good "painter!"
I had bought some delicious raspberries at Costco for selfish reasons, other than the fact that we like to eat raspberries.  I really like to stick them in my lemonade.  But, being that it's so hot here, the lemonade went rather quickly.  So, I thought that I would use them to make something for Jon's breakfast this week.  It took me forever to find the perfect recipe, since I was almost out of brown sugar, milk and didn't have any yogurt, sour cream, or some of the other ingredients.  I finally settled on a recipe and it was so easy (muffin recipes usually are!).
Have I mentioned how much I love souffle cups?  Maybe they need their own post.  Yep. . . I think they are just that awesome!


Lemon Raspberry Muffins
from here via Pinterest

Ingredients:
2 cups flour
1 cup sugar
1 tbsp baking powder
1/2 tsp salt
2 eggs, lightly beaten
1 cup buttermilk
1/2 cup canola oil
1 tsp grated lemon zest
1 1/4 cup raspberries
1 cup powdered sugar
3 tbsp fresh lemon juice

Directions:
Preheat oven to 400 degrees. 
Combine your dry ingredients in a bowl.  Slowly mix in wet ingredients and stir until just moistened.  Add raspberries and fold very carefully.  You want them to keep their berry-like figures and not be smooshed and have completely pink batter.  

Fill your muffin cups and bake for about 18 minutes.  In a small bowl, combine powdered sugar and lemon juice.  I just eyeballed this til it got to a glue-like consistency.  I like the way it gave it a glazed donut kind of effect.  Spread this on with a spoon or a pastry brush (hence, my son "painting").  

Let cool and then snack on one.  I keep these stored in the fridge, because they are fruit, they will probably last longer.  

Monday, July 01, 2013

Cooking with Kids

It's so quiet around here.  It hasn't been this quiet is sooo long.  I think it's way too hot to function around our parts.  Today, we ventured outside for some water play at 8:30.  WAY too hot, even then.  I am pretty sure that it never broke 100 degrees during the night (although it probably did).

So, I am going to take advantage of this quiet and get some blogging done.

Ethan LOVES to help out in the kitchen.  We've been doing it since he was a little thing.   He's always making strange concoctions in the backyard, pretending to make muffins, or cake.  There is a good amount of time, where I just want him to stay out of my way, so I can relax and bake (I'm being honest, here!).  However, I have really been convicted with being intentional at letting him help do some of the baking around the house.  Last week, I put him to work making breakfast.  Then the next day, he helped his dad make pancakes while I was grocery shopping.  He was so proud!
Crescent Rolls are awesome when introducing kids to the world of cooking.  You can seriously do ANYTHING with them.  These are a bit harder than these were, but they were still on the easy side.
For this recipe, you will need:
some crescent rolls, cinnamon, white sugar, brown sugar, egg, sliced almonds, sugar sprinkles of some sort.

To make this recipe, I don't really measure.  We combine the sugars and cinnamon in a bowl and mix it together with our fingers.  Super easy.  Whatever is left over, we throw in a ziplock bag and stick it in the freezer for next time.  Because, you never know when you might be in the mood for some. . . they are addicting!

We don't spread any butter on these ones because the dough is already pretty butter-y. . . why add more?

Spread out the triangles on a baking sheet lined with parchment paper.  Put a spoonful of sugar mixture on top of each triangle.  With your finger, spread it around the triangle.  Make sure to pat it into the dough.  Then roll each one up starting at the end with the straight end (not the point).

Make and egg wash and brush each roll-up with the wash.  Sprinkle almonds and sugar sprinkles (we used the Pampered Chef caramel one that is sadly not made anymore!).

Bake in the oven at 375 for about 10 minutes or until a soft, golden color.  Let cool long enough that they are still warm, but not burn your fingers warm.

We did some with almonds and some without. It doesn't really matter. Make them to your liking.  I like almonds and Ethan wasn't a fan, so he only let me put the almonds on mine.  No biggy.  They still turn out beautifully.  Some may come out a bit funky, because most 4 year olds still haven't mastered the skill of rolling up a crescent roll. . . not a big deal.  They magically turn out just fine in the oven.  See?
Ethan have lots of things planner for Ethan to start cooking us.  I am excited for all these fun opportunities to not only bond with my son, but also teach him a skill that he will someday be able to impress his future wife with! 

I'd love to hear from you:

Do you cook with your kids?  What's your favorite thing to make?

LinkWithin

Related Posts Plugin for WordPress, Blogger...