Thursday, February 27, 2014

Mini Lemon Rolls

Yesterday, my son asked me if tomorrow was Friday.  My answer was yes.  A good, honest yes.  Good thing that I very quickly reminded myself, and him, that it was only Wednesday.  I think we both may have been momentarily sad for a quick minute.  While, it seems hard to believe that it is only Wednesday, I am thankful for my "extra" day.  I am being way too ambitious for the hours in a day!  
If you are in a hurry to get to your weekend, here's a wonderfully, easy breakfast treat!  And since, I am going grocery shopping after I drop off Ethan at school. . .and we are nearly out of groceries (don't worry, I am going tomorrow!), I might just make these.  I am pretty sure I saw a can in our nearly empty refrigerator.
 My kids gobble these up very quickly. . . and there's not a bit of cinnamon in them.  Sugar. . . yes. Cinnamon. . . nope!  These are great for broadening my children's palate (you know, beyond their love of cinnamon rolls).  And they are so easy!  All you need is a mini muffin pan, crescent rolls, lemon, sugar, powdered sugar, and a bit of milk.  Seriously, sooo easy!

Easy Lemon Rolls

Ingredients:
1 can Crescent Rolls
3/4 cup sugar (maybe even less. . . I don't measure on this recipe)
Lemon zest from one lemon
1 cup powdered sugar
2 tbsp milk  or lemon juice (once again, just wing it)

Directions:
Preheat oven according to the package directions (possibly 375, but you should double check, just to be sure).

Layout your dough flat, laying the two rectangles side by side.  Pinch the seams together and run a roller over it, just a little (it's okay to skip this part, but not the pinching. . . you will have a mess if you don't.).

In your favorite cereal bowl (yes, I said cereal bowl), pour some sugar and zest your lemon.  Then stick your fingers in and mush them all together, so that you can release the lemon oils and spread that lemon-y goodness all over your rolls.

Spread sugar/zest mixture over crescent roll dough.  Roll it up.  Cut into slices.  Place slices into greased mini muffin tin.  Bake for about 10 minutes or until they are nice golden brown.

While they are baking, get out your second favorite cereal bowl.  Pour some powdered sugar in it and then stir in a couple tbsp milk (or lemon juice).  I start with one and then slowly add more.  Stir until you get a perfect texture.  I sometimes even throw in a bit of Karo syrup to give it a bit of a glossy sheen.

When your timer buzzes, and your crescent rolls look perfect, take them out of the oven and spread some of that yummy glaze.  Let a cool for a few minutes and then start eating.. . if you can wait for them to cool!

Happy Eating!

Monday, February 24, 2014

Monday Meanderings. . .

It's Monday!  Welcome to the week!  Where I am looking, it's beautiful!  I won't lie, the fact that is is 77 degrees, sunny, and my windows are open makes it a great day!  I am looking forward to the possibility to rain. . . because that would be just awesome!  We may have played in the dirt today.

I'm trying super hard to get back into the groove today.  The kiddos spent the weekend with the grandparents doing all the things we tell not to do and having a blast.  The hubby and I went on our own little (dare I say, quiet?) adventure to IKEA and then to Davis to enjoy some Crepes.  Seriously, 2 hours is probably enough to walk around the Davis downtown, but I would need a few days to eat at all the amazing looking/smelling eateries that were there.

New furniture has been built and our operation kitchen redo is well on it's way.  I won't lie. . . I can't wait to get rid of the ugly linoleum that currently resides on our kitchen floor.  But, that is a few months away and I must focus.  Focus on the can of Annie Sloan chalk paint that waits for me to start painting the cabinets.  Focus on accessorizing.

However, new furniture brought on rearranging a few things (our old buffet allowed me to hide things. . . this one leaves it all out for all to see).  So, I need to start organizing the storage side of our pantry, get rid of some things, and make room for it all. It's a project that has been on my mental list, it just hasn't happened yet.

There isn't going to be a ton of baking this week, because it is the end of the month and I am out of food money.  I think I have enough sugar to make this banana bread with the bananas that are just about ready to bite the dust.  I have dough rising to make some bagels for lunches because we are out of lunch meat, most veggies, and crackers, but we have cream cheese.  It's all about creativity, this week!  But, don't worry, we won't starve. . . I get to refill our food supply on Wednesday. . . 2 more days!

My garden started sprouting this week!  I am so excited!  Last year, I struggled with things growing.  This year, we are trying it a different way and have installed sprinklers in each box.  I have high hopes.

I still have lemons on the tree and I made some simple syrup last week.  I think I will make some lemonade for dinner (see, I promise, we aren't starving!).  I also really want to make this. I want to make it really bad.  It's been on my list at least 3 weeks!

I started playing with vinyl with my cricut and I am sooo excited to do the rest.  I had to run and get a new blade, because after 3 years of cutting, it was getting a tad dull.


Nap time for the littlest little is coming to an end, so I am going to go and find my kitchen in order to make that banana bread and dinner (I'm hungry!).

And, lastly please help me grow my blog by sharing my FB page.  I am hoping to increase my readership by 50 over the next few months.  If I can get up to 100 FB likes, I am going to give a giveaway!  Thanks so much!!!


Friday, February 21, 2014

Lemon Love {scones}

I think I have Spring Fever.  A serious case of it actually.  It has been so hard to get things done this week!  My windows have been open and I have actually sent my son to school in shorts (which was kind of out of necessity, since all of a sudden he has holes in all his jeans!).  

I'm still watching my garden.  I know that it takes at least a week (or more) to sprout out of the ground, but as with everything, the anticipation is killing me!  I am so excited!  I also just bought a brand new pattern that I really want break open and start sewing, but for now, I should probably work on the projects at hand (there's a lot of them!).   I am even considering sewing a shirt for this summer.  I've been considering it for several years now. . . maybe this will be the year.  

I love, LOVE having a lemon tree in the backyard.  My lemon tree produces rather large lemons that are so juicy (I think they might be meyers, but not really sure).  All, I know is they are good!  
So, what do we do with the lemons?  Start cooking, of course!  So, I made these scones for a quick breakfast treat for Jon.  I may have mentioned that he usually doesn't have time to eat a bowl of cereal and we aren't that big of breakfast eaters, but we still need to eat.  So, it's really important for me to have something for him to to grab and go in the mornings.
Don't they look delicious?  They were.  They were super mild and very moist. 
Drooling yet?  Do you have lemons in the fridge so you can go make some now?  


Lemon Cream Scones
adapted from on sugar mountain

Ingredients:
3 tbsp sugar
zest and juice from 2 lemons
2 cups flour
2 tsp baking soda
1/4 tsp salt
1/2 cup butter, cold and cut into chunks
3/4 cup heavy cream, plus extra for brushing
1/4 cup sifted powdered sugar

Directions: 
Preheat the oven to 400.  
Line your favorite cookie sheet with your silpat or some parchment paper. 
In the bowl of your stand mixer, combine lemon zest and sugar.  Before sticking your bowl into the mixer, stick your hands into the sugar and zest and massage the zest into the sugar.  This helps release all those oils into the sugar and will make your scones really stand out.  
Put your bowl into the mixer and lower your paddle into the bowl.  Add flour, baking powder, and salt.  Drop chunks of butter and mix on low speed until the flour mix is the size of small peas.  
Measure 1/4 cup lemon juice and poor into the bowl with the heavy cream.  Mix until it all comes together.  Your dough should be thick and moist. 

Sprinkle a little bit of flour over your parchment paper, drop dough on to it and pat into a round circle, about 3/4 in thick.  Cut into 8 wedges and spread out on baking sheet.  Brush with some yummy cream (this is what will help give it that beautiful color).  Sometimes, I like to add some sanding sugar here to give it that sparkly top.  Completely up to you.  

Combine powdered sugar and lemon juice to form a thick glaze.  Drizzle or brush over the tops of your scones.  


\


Wednesday, February 19, 2014

Cinnamon Roll Quick Bread

I think it's Spring here.  But then again, it's been spring since January.  But, my plum tree is starting to bloom and I planted my spring garden. . . we will see if it grows (I need to work on the whole green thumb thing).   I've also been watching some of the Olympics. . . but blast them for being on so late.  It's actually been quite the distraction from my to-do list, but I was able to work on a present for my sister and get some more triangles sewn for my quilt.   Sewing relaxes me.  

But, I've had this picture in my files and it's about time I shared it with you.  (If you follow me on instagram, then you were taunted by this picture a few months ago when I posted it when I made it).  You've been patient! 
This bread was a huge hit in my house, especially among my cinnamon roll loving boys (I mentioned that in this post). I really like making quick breads, because they are quick to make (you don't have to wait for yeast to rise), and most often than not, you don't have to use your mixer. . . meaning fewer dishes.  Don't be intimidated by the three steps, they are all super easy and will make the bread taste amazing!

Cinnamon Roll Bread
adapted from rumblytumbly

Ingredients:
2 cups flour
1 tbsp baking powder
1/2 tsp salt
3/4 cup sugar
1 egg
1 1/3 heavy cream
1/3 cup plain or vanilla yogurt
1 tsp vanilla

1/3 cup brown sugar
2 tbsp melted butter
2 tsp ground cinnamon

1/2 cup powdered sugar
2 tbs milk or heavy cream

Directions:
Preheat oven to 350.
Grease a 9 inch loaf pan.
In a large bowl, cream together sugar, egg, yogurt, and cream.
Add flour, baking powder,and salt to the wet mixture.  Remember, just like muffins, be careful to not over mix.  Pour about 1/3 of the batter into your greased loaf pan.

Mix your cinnamon sugar mixture and put half of it over the first layer of batter.  Then pour another 1/3 batter into pan and top with some more sugar mixture.  Do this again.

Bake bread for about 40 minutes or until your cake tester comes out clean.  While that's cooking, go ahead and mix your sugar and milk together for the glaze.  When your bread is finished, let it cool for about 15 minutes and drizzle with glaze.  Let it set and dig in!

Happy Eating!


Tuesday, February 18, 2014

Tuesday thoughts. . .

I was going to do a Monday Meanderings post yesterday. . . but then it's Tuesday already, so this are some thoughts running through my mind.

Tax return and Stampin' Up's annual sale-a-bration always land together, which means I can update my stamps for the upcoming year.  It's going to be fun!  The box came in the mail last week and I am still waiting to play with them.  I am so excited.  Then. . . this month's paper pumpkin came today. . . yep, the stamps in this one pretty much ROCK!

I've been cooking and baking up a storm lately, and I can't wait to show some new recipes with you.  They are pretty good!  Some of them may even be amazing.  Be on the lookout!

I got an hour to go get coffee and do some fabric shopping (don't worry. . . it was gift card).  I found some super cute fabric and a new pattern.  Maybe when I get some things done I will sew something with it.

my to-do list keeps growing.

Anyone else feel this way?

I am slowly reading my way through this month's Rachael Ray. . it's all about breakfast.  I am also trying to read the new Dee Henderson book.  I'm afraid if I read any further I'm not going to be able to put it down. . . and the kids will call.  Darn you amazing suspense novels.  On another note, if you've never read Dee Henderson. . . you really should.  They are great books!

I purged, organized, and rearranged my craft area after Christmas.  It has managed to stay clean for almost 2 months!  I am so excited!!!  Now, I am going to save my money for a new desk to make it super cute!

I am considering a pair of Toms for my next shoe purchase.  I think they will be super fun this summer in my attempt to be somewhat trendy (when not in yoga pants. . . that is).

What are some of your thoughts. . . happenings . . . ?????

Tuesday, February 11, 2014

Happy Birthday, cupcake {Card}

I wanted to get a quick blog post in tonight. . . but, I must confess. . . the Olympics are quite the distraction.  I love watching the hard working athletes soar, flip, spin, and twizzle their way to a medal.  It's amazing what these athletes can do and super fun to watch!  (anyone else out there watching?) 

I made this card a few weeks ago for a friend/cousin-in-law (Is that what you call it?)'s birthday.  It was her big 34. . . which is a big deal in my husband's family because you have to be awarded a lovely errr. . . hideous sweater based on this  clip of the Three Amigos.  Seriously, I think we will be having an ugly sweater contest in a few years when my husband's cousin Dan is awarded his.  


This card uses some scraps from my scrap drawer.  The twine was from the dollar section at Target. . . seriously, some neat finds!  The stamp was from Stampin' Up's set Patterned Occasions.  I ran the brown cardstock through my Sizzix Big Shot with a Cricut border embossing folder and then wrapped the twine around it.  I also used the corner punch to corner my white folded cardstock, as well as my brown coordinating cardstock.  I found a card similar to this one on Pinterest, and then changed it up a bit.  

Now, I am going to go get ready for bed and maybe read it bit. . . if the Olympics don't distract me too much!  

Friday, February 07, 2014

100th day of school {Free printable}

Remember this post back at the beginning of the year?  It is so important to be a blessing to your child's teacher, I really do believe that this makes your child's education so much better.  (Remember, as a former teacher, I know how exhausting it is to be a teacher and balance family on top of that!)

Today we are 100 days into the school year.  100 days down. . . 80 more to go.  It's been a good 100 days.  There has been lots of learning, lots of fun, and lots of adventure.

So I made a quick tag and had my husband pick up some 100 Grand bars while he was out last night and I put this together really quick!  I also made one for Ethan to put in his lunch (a special 100th day treat).  I modified the printable so it would work for you.


 You can go here to download your own copy. 

Happy 100 Days of School!

Thursday, February 06, 2014

If you give a dog a donut {3rd Birthday celebration}

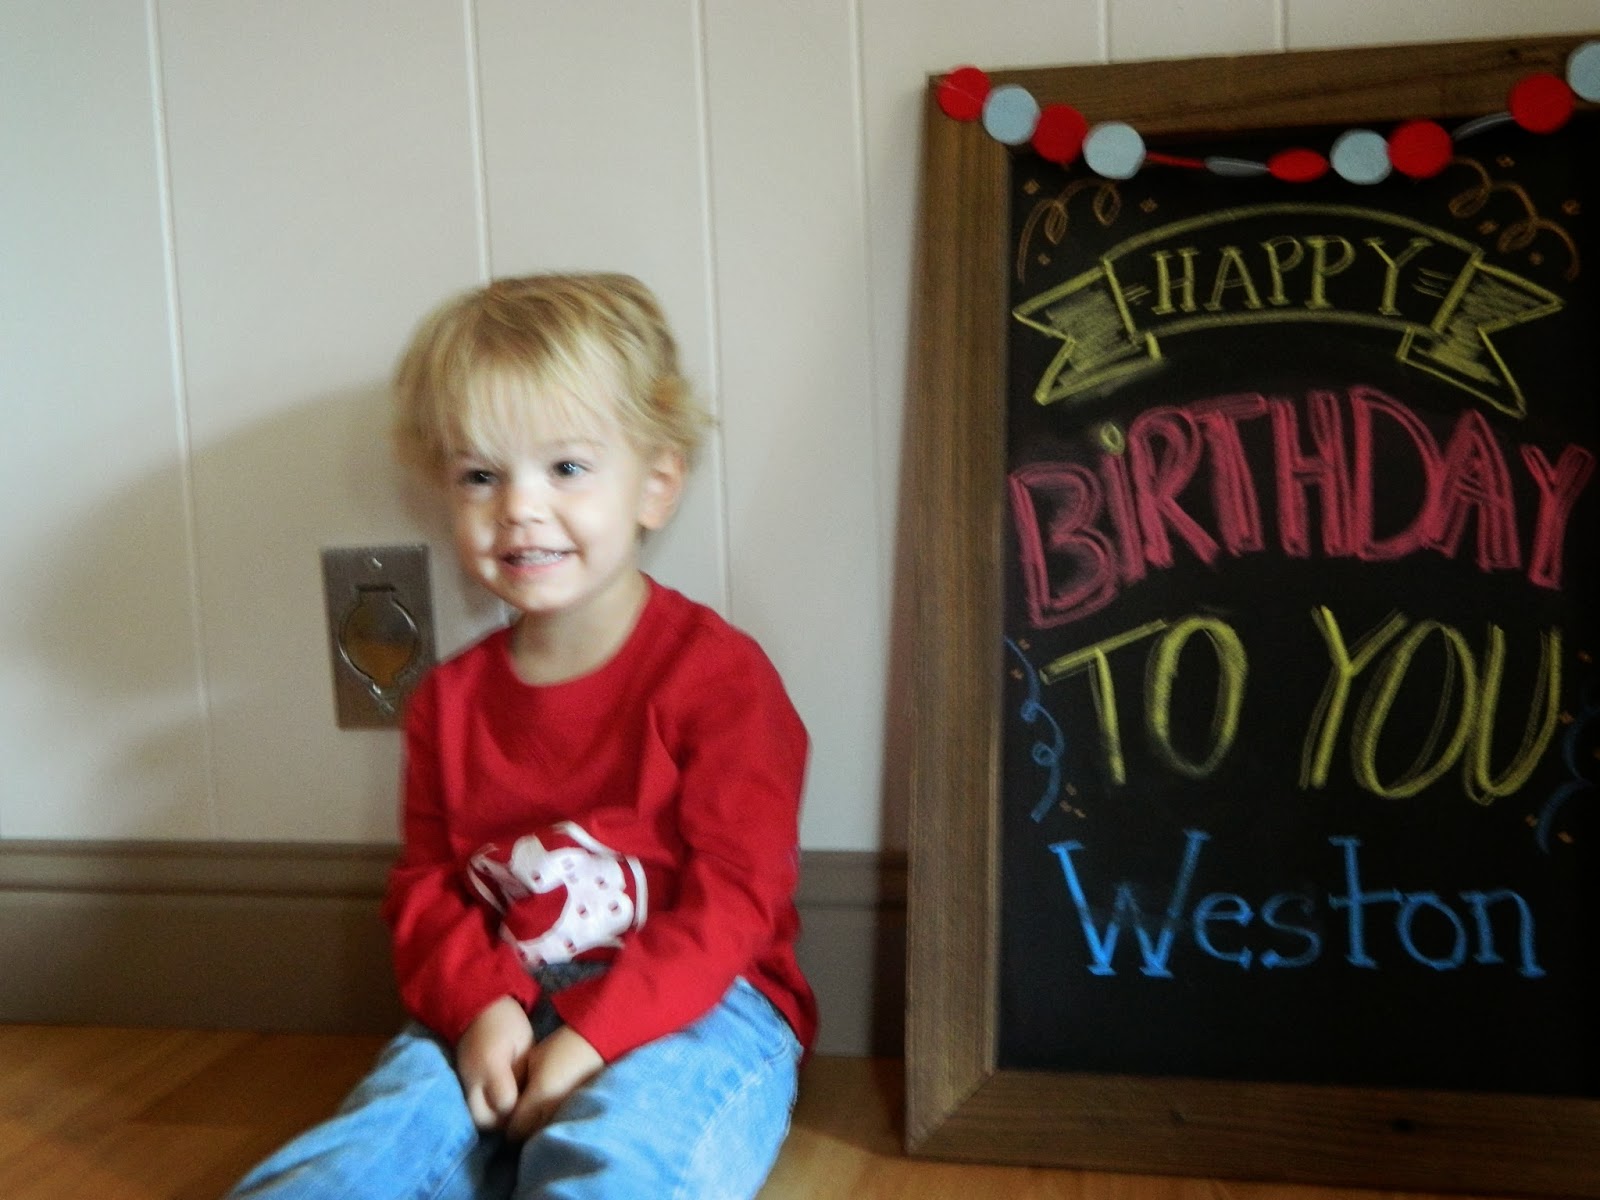
Last weekend, my little boy turned 3.  Yep, that cute little blonde haired bundle of joy is turning into quite the boy!  He kicks and throws with precision (I think he's going to be an athlete) and loves hitting the ball with his head.  He's super silly with his eyebrow raising silliness and seriously I can't believe that he's 3.  
We had to have a party.  I mean, it had to be done.  

So, I picked one of our favorite books (you know I am a sucker for a good children's book!) and started planning.  This one was a bit tricky  because I think one other blogger has ever posted on this party theme and apparently only girls have donut parties (anyone else notice this?).  But, was super fun and came together beautifully. . . if I don't say so myself.  

If You Give a Dog a Donut, by Laura Numeroff follows a similar pattern to that of her beloved, If you give a Mouse a Cookie books.  I loved the donut idea.  I loved the morning birthday party idea (seriously, best. idea. ever!), and I loved the baby blue and red color scheme.  {which by the way, is not to be confused with red and turquoise which is super popular to find everywhere!}
 He had to have a birthday shirt, right?  I decided to try something new this year and found this free printable with a great tutorial on how to use freezer paper to paint on shirts.  It's something I have had on my craft bucket list, but never had tried.  I was super excited to see how easy it is.  And freezer paper. . . awesome!
 Then, the traditional countdown must begin.  I apparently didn't get a good picture of the printed version when it was hanging up on the bedroom door, so here's a picture of it on the computer.  We added a red paper chain to it and took one off each day prior to his birthday.  Super exciting!
 Then it came down tot he party.  I am super excited about how it all came together. . . probably because I really didn't think it was going to look all that great, because I was having a hard time finding baby blue stuff. . . but I am in love!  Not to mention it was super simple!
 The banner is a new kit by Stampin' Up that I bought and put together.  It saved me so much time, that it was worth it.  Plus, I loved the kraft paper as an accent color to the red and baby blue.  The circle bunting is made out of felt circles and sewn together (it cost less than a dollar to make!).
 I used the book as part of the table decor.  And found these cute chevron ice cream bowls and popcorn boxes at our local Bargain Party (they have some super cute stuff there!).  I used them to hold doughnut holes and Hostess chocolate and powdered sugar donuts.
 I made a little stack of donuts for the cake and topped it with coordinating bunting and some cool candles.
 Donut pops. . . these were so easy!  I bought a box on Entemenn's donut holes and a package of sticks.  Made some more donut icing (super easy!).  Dipped the stick with icing and then put the donut on and dipped it into the icing.  After that, I sprinkled it with sprinkles.  Super easy!
 These were probably the coolest things ever!  Strawberry-Donut Hole skewers.  They were delicious. . . and they went fast!
 A donut party can never have too many donuts!  I topped these with some flags that I made with paper.
 I made a table runner out of craft paper and stamped some of the words of the book along the edges.  and then made a crepe paper banner to run along the table.  I love the way it came out!
 I did some digital art to go for the party.
 We served juice and milk in these small mason jars with daisy lids.  I had paper straws and Got Milk? straws, too.
 For favors, we gave out doughnut seeds (aka frosted cheerios).  Super fun and very inexpensive!

In the back room on the fireplace, I made this bunting and had it printed, and then did some chalkboard art.

Now, to sit back, relax, and maybe read a book. . . or work on my quilt.

Wednesday, February 05, 2014

Our Sunday Morning Tradition {Cinnamon Rolls}

I am not sure when it started.  But somehow, it started, and has continued for who knows how long.  Sunday mornings are known at Cinnamon Roll mornings.  It all started with me buying Pillsbury cans so that my husband could pop them in the oven while I got ready for church.  I'll be honest with you, most of the time it is a can of Pillsbury cinnamon rolls (or the orange ones. . . those are my favorite).  The kids look forward to it. . . I look forward to it.  It's pretty awesome.

Sometimes, I get a little crazy (not really, though) and make a batch of real cinnamon rolls the night before.  One batch can usually make two pie plates full of them, which is great because I can freeze one set for another Sunday.  Either way, I still don't have to get up early in the morning and make a nice breakfast for my family and all my husband has to do is stick them in the oven.  It really is great!

Cinnamon rolls are not really as hard as they look.  Once you get the dough done (or defrosted), it really only takes about 15 minutes and it's completely worth it, because as good as those canned cinnamon rolls are. . . these are way better!

So here are my Cinnamon Roll method:

I usually make my dough from various recipes on Pinterest using my bread maker (don't have one. . . it's pretty worth it. . . especially since I am a lazy bread maker).  There are a ton of really awesome recipes out there and I've tried several, and I think I like them all.  If you don't feel like making your own dough, go pick up some plain old pizza dough from Trader Joe's or some basic bread dough from the freezer section at your local grocery store (like this one).

Roll it out on a floured surface.  If you are finding that it seems to bounce back, let it rest for a few minutes and then come back to it.

I usually melt a stick of butter and spread it over the dough with a pastry brush.  Then in bowl, I mix some brown sugar, white sugar, and cinnamon up (I don't measure. . . sorry).  sprinkle it liberally over the buttered dough.  Then roll it up as tight as possible.  Slice it about every inch and place in a greased pan.  I like to use my Pyrex pie plate for this, but you can use whatever you like.  If you are wanting to freeze it, I recommend a 9x9 square pan lined with foil, so you can easily take out after flash freezing. I wrap it in additional foil and then stick in a freezer bag.
If you are making them the night before, take them out a little early, to give them time to rise a bit before sticking them in the oven.  I usually bake them at 350 for 20-30 minutes until they are golden brown.  
If you want to put on a frosting, I highly recommend a cream cheese frosting like this one.

Then try not to eat them all. . . or not. . . I won't tell.

If you want to make other kinds with out all that work, you can use some crescent roll dough and make mini ones using the same method.
or you can try this, this, this, or this.

Happy Cinnamon Roll Making!

LinkWithin

Related Posts Plugin for WordPress, Blogger...